Laboratory X-8 is a location in S.T.A.L.K.E.R.: Call of Pripyat.
Summary
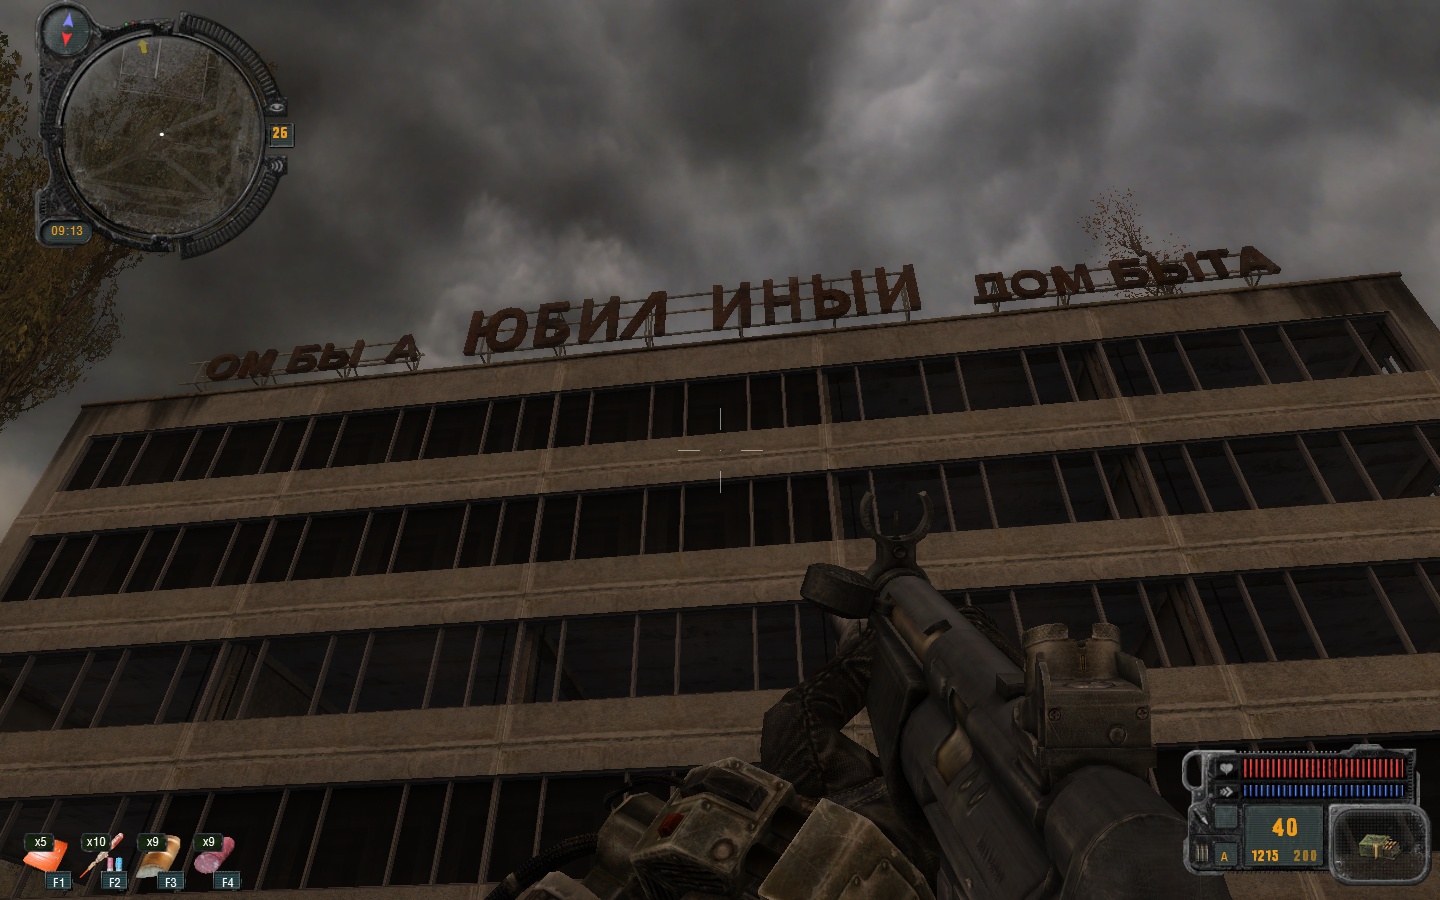
Laboratory X-8 is identified as the central laboratory, the headquarters of C-Consciousness' pre-blowout experiments. Located underneath what was formerly a Yubileiniy services center in Pripyat, becomes a stronghold for Monolith forces on the surface, along with Zombified Stalkers lingering throughout the lower floors of the building.
This lab is a marked change from Project 62's testing lab. It's divided into two sections, one above ground and one below ground. The player must first clear out the above ground area by taking on a horde of zombies and entrenched Monolith positions to start a generator. Then the player must take an elevator down to the underground section. There they must put up with a limited menagerie of mutants while under constant telekinetic bombardment as they search for information on the projects studied and carried out by C-Consciousness—as well as the identities of their lead researchers.
Surprisingly it is not a very difficult lab—more an exercise in patience—but due to the number of enemies and the sheer resilience of the underground's most dangerous inhabitants, any player must bring plenty of ammunition and heavy-hitting weapons to survive.
The underground section is a small, but confusing maze. The player is in fact encouraged not to rely on their minimap because of how it is implemented. It's better to instead explore—carefully.
The area can be revisited after completion to find more materials, and the good news is that nothing respawns. Zombified Stalkers, Monolithians, or Mercenaries may eventually repopulate the surface area, but at a meager fraction of their original numbers. During free play, Loners may populate the surface area.
Enemies and mutants
Surface
- As many as 20 Zombified Stalkers will be scattered throughout the first two floors. While wielding only shotguns and light assault rifles, the sheer amount of fire they can put down on the player in the congested hallways poses a serious threat.
- 10 to 15 Monolith veterans and experts patrol the top two floors and may investigate the disturbances below if the player takes too long to dispose of the zombie horde. Most are equipped with a variety of assault rifles, such as the AC-96/2, SA Avalanche, Tunder S14, TRs 301, or the SGI-5k. Few carry the SVDm-2 sniper rifle. Heavy armor is a must, as they often seal themselves away from the player with iron grates, sniping at him as he moves through the hallways.
Underground
- Three Snorks are in the lab, two surprise the player by jumping from a lower level.
- Many Rodents will attack the player, some are regular spawns, while other are set to attack when the player picks up certain documents or enters a certain area.
- Four Burers are in the lab; one will try to trick a player by mimicking a voice of a crying child, three others guard two sets of documents on the "hidden" level accesible only by climbing the elevator shaft.
- A Poltergeist is hidden in a secret room. The player, whether he is moving or not, can be bombarded at any location in the lab by the Poltergeist until it's killed. An RP-74 can be found in the room with the Poltergeist.
- After obtaining all six documents the main door will close and will remain closed until a freshly spawned Controller is killed. Note that he can actually spawn behind the door, which is a game-breaking bug. Save before you pick the last set of documents – otherwise the last save might have to loaded. An alternative to reloading is to bring grenades (10-11 is a good number), if he glitches behind the door, throw the grenades at the door, eventually it will kill him. And if you do not have grenades try getting really close to the door and shooting the Gauss Gun through the door to kill it.
Loot
In this secret lab there is abundance of loot of all kinds. If one managed to kill Serbin to get his Red X8 keycard during One Shot mission the laboratory's Storage Room, a weapon cache of sort, can be accessed. A group of very important items are Documents, there are a total of six sets that can be found and acquired.
Documents
- Manual for item 62
- A notebook with a description of an experiment
- Rainbow emitter - main technical characteristics
- Research documents
- Report on study of samples
- Order of Transfer
Storage Room
Weapons
- Tunder S14 unloaded very damaged
- AC-96/2 unloaded very damaged
- 4 Fora-12 unloaded very damaged
- GP-25 Kostyer
Grenades
Ammunition
- 90 9x39mm SP-6
- 90 5.45x39mm BP
- 300 9x18mm +P+
Medical supplies and Drugs
Items scattered
Weapons
- RP-74 loaded with 27 7.62x54mm PP
- Kora 919
Ammunition
- 200 .45 ACP
- 180 5.56x45mm
- 60 9x39mm SP-5
- 20 7.62x54mm 7N1
- 100 7.62x54mm PP
- 180 5.45x39mm
Medical supplies and Drugs
Food and Drink
- 4 Tourist's Delight
- 2 Bread
- 3 Energy drink
- 7 Vodka
Survival Tips
Surface
- The surface seems to be 'alarmed'—if the player fires a single unsuppressed shot, or is seen by a single enemy, every single zombie and Monolithian becomes aware of their position. This is most easily noticed with dynamic music enabled. It is therefore highly advised to use a silenced weapon. This can be used to the player's advantage however — by firing a shot, the enemies will lock onto that position (even if it means aiming and firing through several floors or walls), allowing him to flank them through a side passage.
- Don't try to snipe the Monolith on the upper floors — they'll be ready and waiting for you and will often get the first hit. Use a rapid-fire weapon to stun them or push them into cover, and dash to the next safe room.
- The zombies attack in large numbers. Grenades are recommended, and don't hesitate to run away if too many appear at once for you to handle.
- There is actually a glitch that makes the flashlight of the Monolith fighters visible on the floor below. You can use this to determine their position.

The Entrance
- An Electro anomaly field exists on the roof of the building that spawns artifacts, with a fixed spawn of a snowflake artifact.
.jpg)
Underground
- The quickest way to get through the Lab's underground is the elevator shaft located near the entrance to the lab. In order to use this shortcut, you must jump onto the ladder inside of the shaft, and climb down. This will give you access to every floor of the lab, including the bottom floor.
- The underground is confusing and mazelike—but the most important goal, first off, is to find and kill the Poltergeist so it stops hammering you with its telekinesis. Keep an eye out for ladders tucked in the corners — one has boards over it. The quickest way to get to him is to take the stairs down on the opposite site of the entrance. Once down there take the other staircase going up and go to the ladder. When you've dealt with the 5 or 6 Rodents that spawn down the stairs and run up when you're halfway to the ladder, shoot the boards on top of the ladder, climb up, and slaughter the Poltergeist to cease the endless telekinetic bombardment, and take a fully-loaded RP-74 as your reward. You can also take care of the rodents after the poltergeist, shooting them through the big hole in the floor.
- The chamber the three Burers are in can be accessed only by taking a little detour—you need to go to the bottom floor of the empty shaft, crawl out into the shaft, and climb up two floors before jumping into the open door—after which you'll be immediately attacked by flying objects. The Burers themselves attack when you've entered the main room. The shaft can also be accessed by taking a couple of stairs down on the left of the entrance.
- If you've recovered the red keycard you can unlock an armory full of ammunition for nearly every weapon, an AC96/2 and Tunder S14, as well as medkits and some other meds. The door is located to the right of the entrance upon entering, next to the staircase.
- The three Burers gathered together are extremely dangerous, more so because they are bugged — they take no damage at all from any weapon unless the player is in the same room, with the exception of the Gauss Rifle.
- The Tesla is the only real threat after the Poltergeist has been dealt with—it can kill a stalker with a maxed out 'anomaly-diver' set-up in a single pass. Be wary of it.
- The PDA will inform you when all of the documents are acquired—remember to scan through every room and every desk—all but one of them are in plain sight. The documents can be found in the following places;
- There are two in the area with the 3 burers, one (the report on study of samples) on the table in the middle and one (the manual for item 62) in the small room above. If the document is not on the table, sweep the room and examine everything carefully to make sure the document has not been knocked off the table or thrown by the Burers.
- One document (the blue notebook) can be found in the lower chamber on the path of the traveling electro, behind a closed door very close to the entrance. This one can be easy to miss as the door is fairly unremarkable save for the lack of debris at its base. Care should be taken when retrieving it, as the electro is very dangerous even on lower difficulties.
- There is one (the rainbow emitter) in the flooded, lowered area in the bottom of the lab; picking up this document will spawn 4 rodents outside the room, which come running in.
- One document (the research document) is on a radioactive table on the far side of the cafeteria with the crying Burer.
- The final document (the order of transfer) can be found by the two large gas tanks on the bottom floor. It can be found on the table top, next to a row of shelves. There are 3 rodents patrolling the water canal below these two tanks, but they should pose little threat.
- Once you collect final sixth document, the main door will close and a Controller will spawn just next to it; the door will audibly begin closing with much the same sound as when it opened, but will re-open once the Controller is dead. However, due to a bug, it can actually spawn behind the door, effectively trapping the player and ending the game then and there. Be sure to make a separate save before you pick the last document in case this happens.
- You may be able to shoot the Controller through the door. It takes a lot of ammo but eventually he will die and the door will open. An alternative way is to use grenades, if you have enough of them. Make sure to use the low/short throw, or the grenade may bounce off the door and land in a corner.
Behind the Scenes
- In Build 1935, one of the later alpha builds of Shadow of Chernobyl, there was a map called War Lab, which, if played using the Build 1935 released by GSC Game World, can be viewed, and is almost the exact same level, with the exception of a texture here and there, and has the same entrance and elevator positions.
- Also, 'War Lab' was meant to be in another cut map called Generators, and the entrance to 'War Lab' was in Generators. Generators was located north of the NPP. Both levels were cut from the final version of Shadow of Chernobyl.
Trivia
- When the player activates the generator they have to be careful not to fall into the hole in the floor where the elevator cables go through. If they fall before turning the generator on there is no way of opening to elevator doors, so they will be trapped in the shaft and need to start again from a previous save.
- Lebedev, Professor Beanpolev, and Docent Suslov are mentioned in the Order of Transfer found in the laboratory (as N.A. Lebedev, E.F. Kalancha, and I.A. or V.I. Suslov). All of which were investigating problems in the Noosphere. This suggests that Clear Sky may have been assisting the C-Consciousness, just not directly, or that some Clear Sky leaders were part of the C-Consciousness project but left after the Zone was created.
- The Poltergeist is actually a different entity from the other Poltergeists in the game – using the same coding as the notoriously annoying Poltergeists from Shadow of Chernobyl – it sometimes does not gib on death and leaves a ragdoll similar to those from Shadow of Chernobyl.
- Most of the laboratories from the prior games are mentioned, along with a new lab yet unheard of; X7, which is apparently the new site of C-Consciousness' experimentation (if not the site of their headquarters).
| |||||||||||||||||||||||||||||